Showing posts with label nursery. Show all posts

Tuesday, July 26, 2011

Fixed Me Up a Table...

So I wanted a little table for the nursery to put next to the rocker for water, supplies, etc. I just wanted a simple table that was short and cute. Most importantly, I didn't want to spend much $$.  A few weeks ago I went on a yard sale marathon in search of the perfect table. Well, I found it! The price was totally right too: $3.

Here's a quick tutorial on how I got the table to look like it should be a part of the room.

1- I took some sandpaper to it until it was all scratched up and stuff.

2- I wiped it off and primed it. I was careful to not get any paint on the tiles.


3- I let it dry and painted the table in the leftover trim paint I had on hand. The center circle I used the leftover wall paint from the nursery. TA-DA! New table for 3 bones.


Be sure to check out how it looked in the nursery all set up. What a fun little project that totally changed the look of the table. Oh yeah- I had Peter spray it with a clear coat of poly so we don't need to worry about coasters in the wee hours of the night:)

Thursday, July 21, 2011

Nursery Complete!

Well I guess it's done. For now. I can't commit myself to saying a room is "done". So here is the grand tour for now. Wow- a lot has changed since the day we painted this room! I am thrilled with the result. To keep costs down, I made the curtains and bedding seen in the first picture. I gave leftover fabric to my wonderfully talented sister-in-law Auntie K who made the quilt hanging over the edge of the crib. I made my own mobile since I didn't find anything I liked in the store. I love how big the mobile is and how it fills the empty corner of the room visually.
We took the door off the closet and put a curtain up so we could utilize that corner a little more effectively. We really wanted the glider rocker in that corner. Speaking of...remember when it used to be an ugly green? I also made some fun little art for the wall out of some leftover fabric. Check out the little table next to the rocker. I just added it and am really happy with how it turned out. That table hasn't always been so cute- in fact, a week ago it was an ugly brown and cost $3 at a yard sale. Stay tuned and I will show everyone the transformation :) The light is from IKEA that we had in our old apartment. Oh and for everyone with a perceptive eye...i blocked out the little hanger holding the jacket on the wall...it's the first initial of Little B's name...we can't tell you yet!
Here is the closet progress thus far. We painted the rod and top shelf to match the walls and added some shelving to the far left out of wood scraps. We used a shoe organizer from IKEA to organize things like burp cloths, hats, etc. More on organizing that another time. It's fine for now!
Here is the side that no one has seen yet. I am really happy with how it turned out. The two outside shelves we had from our old apartment and are from IKEA. The middle decorative shelf is from Christmas Tree Shop for around $6- can't beat it. Do you like the decal on the wall? It's from Etsy given to us by Auntie K. The changing table was an antique shop purchase for $50 a year ago. We totally lucked out on that piece.
Oh and look at the little shelves! They are actually leftover spice racks from IKEA that I painted the color of the trim. I just love them.
Doesn't the sailboat decal look like we painted it? It's amazing!
This corner doesn't really have a purpose yet. We have the bassinet stored there right now. This bassinet was used by my dad when he was a baby. My wonderful mom made it look brand new with the eyelet fabric and quilted lining. Little B will love her little abode.

Well that's it for the nursery at this point. We have had so much fun with it but I am glad we are done! Now it's time for Little B to see it. I will try to get a 38 week pic up soon for all you bump-date followers!

Thursday, July 7, 2011

Make Your Own Mobile- Beach Style

So in one of my first posts about the nursery I mentioned I wanted to make my own mobile. I had seen a picture on etsy of a mobile I liked - but didn't love - that was made only of paper. Being the beach obsessed lover that I am, I wanted to put a beachy flare on the mobile....


So what should I hang that's beachy and small?

How about 250 tiny sand dollars? I mean, why not, right? They already have holes! I told myself I would save this super-duper-fun-take-up-a-lot-of-time project until the end of pregnancy when all I wanted to do was sit. Well, I guess I am there!
I used a simple embroidery hoop, which we spray painted white that I ordered online for $1.30. Wahoo. I bought fishing line from Michaels and ordered the sand dollars online. Then I got my stringing on. And on...and on.


250 sand dollars later...


Doesn't it kinda look like a giant jelly fish?

My favorite part about it is how giant it is. It totally fills the corner of the room, and I am sure will distract Little B for a few minutes...

Has anyone else tried making a mobile? It was kinda fun :)

Thursday, June 2, 2011

Little Projects Make Me Feel Good...

I was getting a little antsy this past weekend and wanted to see some significant changes in the nursery. It's all about the details baby. I started by painting this old IKEA frame I had lying around the same color as the trim. I used a staple gun (an essential) to attach leftover fabric from the curtain to the backing of the frame. Then, I simply hot glued these cutesy starfish I had lying around from our wedding to finish the piece!


Next I used some of the leftover fabric from the crib skirt to line this basket I bought at Michael's (with a coupon!). Look at all of the wonderful little things Little B has been given already! Our little swimmer is already kicking around in excitement to play with these wonderful things.


Then I made a few little pillows out of coordinating fabric to throw in the crib until Little B occupies that space...


Look this side of the room is almost done! All we need is that great mobile that I have been dreaming about for above the crib.


It's definitely starting to feel like a nursery! 9 Weeks and counting.  Don't little projects make you feel so much more accomplished?

Saturday, May 21, 2011

Big Reveal: Glider Rocker Done!

I just love a happy ending. From start to finish my little glider rocker project has been nothing but joyful. Let me start from the beginning. I knew I wanted a rocker for the nursery but was not willing to spend the $350+ dollars it costs to get my hands on a Dutailier (for some reason i say this with a French accent and really have no idea how to actually pronounce it. It sounds "fancy-pants" that way). People rave about them saying they will "last forever". If they last forever then why don't I buy it from someone else?

I looked all over Craigs List for the perfect rocker. My search criteria? White wood and good cushions. That left me with a bunch of options to choose from. I settled on contacting a young family that was moving away and had only have their Dutailier (said with French accent) for less than a year. Price tag  after some friendly email barter....

$50
Say what?! I just couldn't resist. (We were still in our apartment at the time and really had nowhere to put it. But how could I pass it up? Answer: I couldn't. I happily rode down with Peter one Saturday and made the exchange. We Peter hauled it up to our third floor walk-up and just couldn't resist snapping this photo of Peter testing it out in the kitchen:

Is that Little B? Nope. It's a pineapple.

So this little treasure stayed with us a month or two giving extra seating to our already crowded living room and anxiously awaiting a room of it's own.


Fast forward a few months...

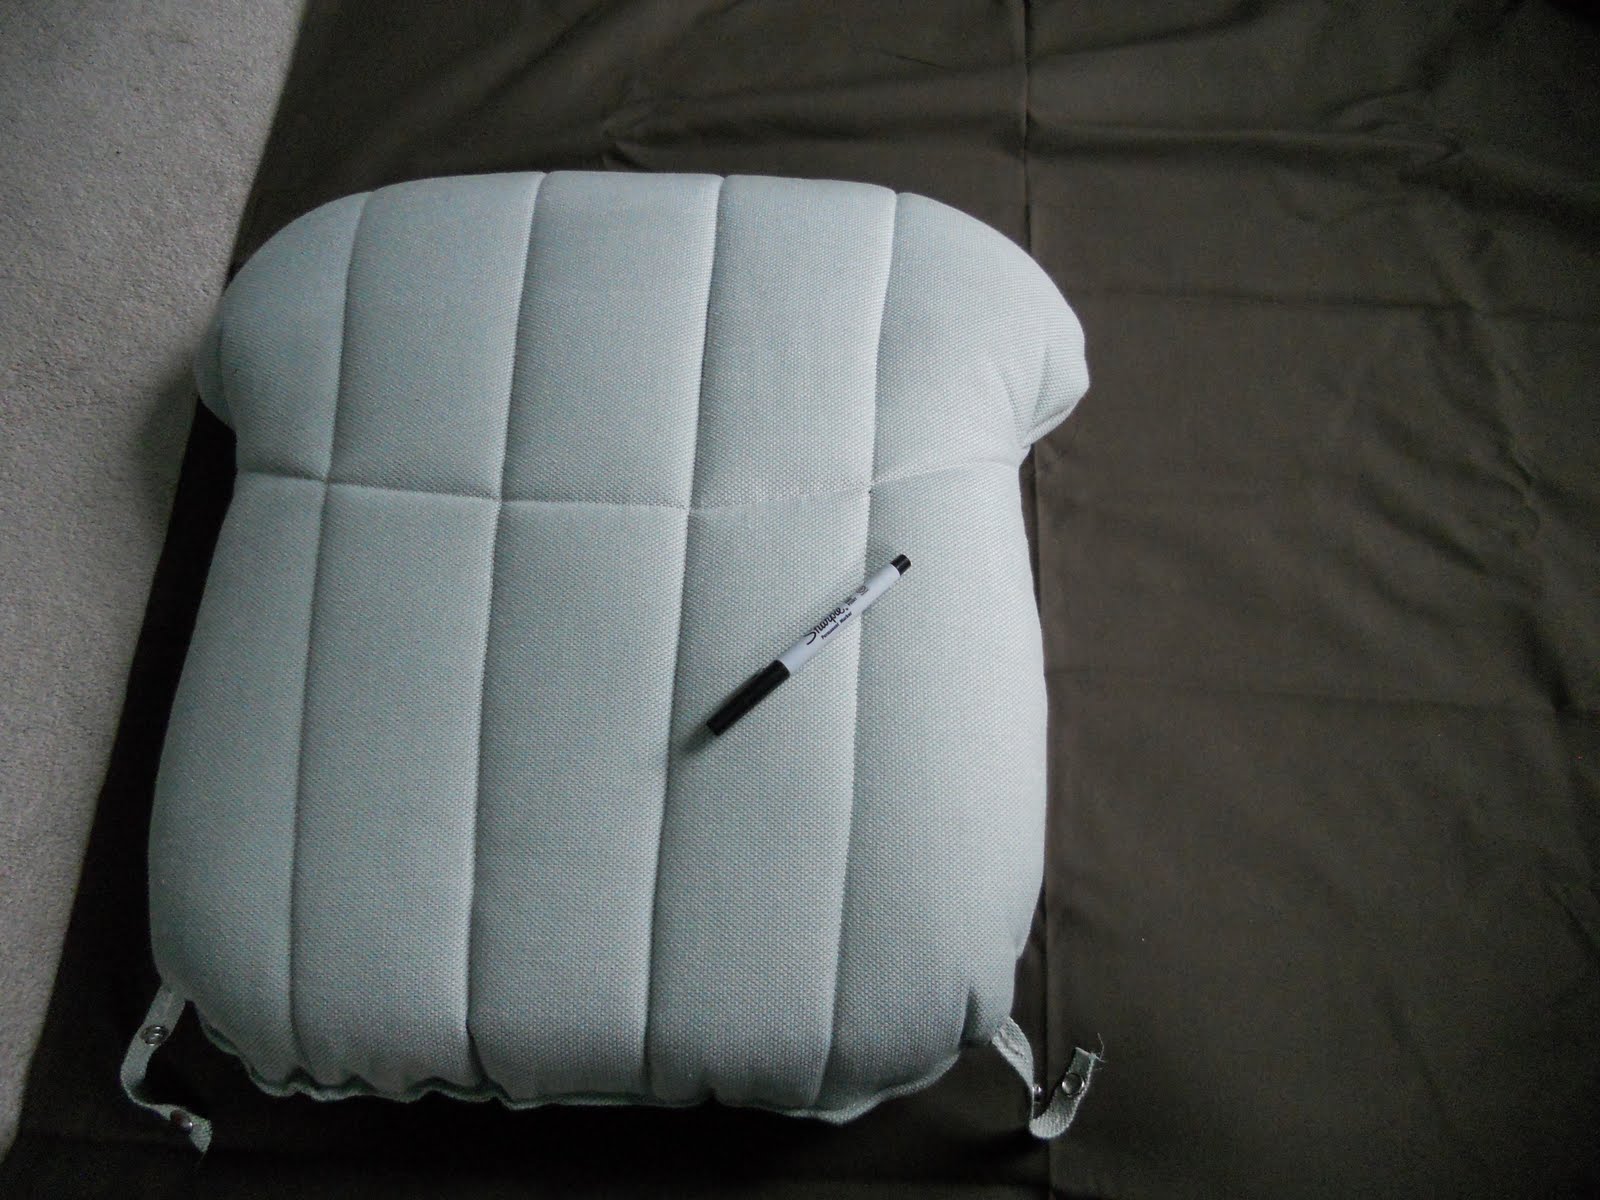
I finally got around to tackling the cushions. Seafoam green is quite a cute color but would not match the nursery I had in mind. I used this nursery for a lot of my inspiration. I liked the idea of the chocolate brown fabric with white accents for the chair. If Little B is anything like her mother she will need a chair that hides stains!

So I went to Joannes and bought some basic chocolate brown home decorating weight fabric (2 yards) and 4 zippers (one for each cushion). I wanted every cover to be washable because of my aforementioned problems with stains. The fabric and zippers cost me around $15- Joanne's was having one of their amazing sales.

I won't try to bore you with all of the sewing details but here is a quick tutorial of what I did:

With a sharpie I generously traced two pieces of all four cushion pieces.


I sewed (right sides together) and added a zipper to each piece. 
Here is where I cheated a little. (Again- not a professional seamstress here but I can guarantee a finished product in under and hour or two:) ) Each cushion either had two ties or snaps that were attached to the green cushions previously. Instead of making new straps and adding snaps I cut small holes in the new covers and pulled through the straps/snaps to attach to the chair. Much easier.

Not something you want to "show off" to your friends when they look at the chair...but you don't even see it once they are snapped/tied!

Here is the final product:


Using the same nursery for inspiration...I wanted to find a pillow with pink and teal starfish. There were a few options out there but some of them cost close to $75! For a pillow! No thank you. So I went the route of looking handmade through Etsy. Have you ever gotten lost on Etsy? I just love it and love selling my things on Etsy. (My shop has been hibernating the past few months with all the house/nursery projects).

I found this great shop Crabby Chris and she was willing to work with my color scheme to paint little teal and pink starfish all over my pillow.  Yay! Her prices are super affordable and the quality was excellent. When the pillow arrived I was beyond excited and couldn't wait to share it with the world (Once the rocker was done). So here it is! Drum roll please...


I just love it! Doesn't the rocker look great in front of the curtain closet? If you look hard you can see I painted the shelf and rod the same color as the walls. Another success and happy Craigs List find.

Tuesday, May 17, 2011

Curtains For a Closet?

There is nothing better than having a cute and organized closet. There's something about opening up the door curtain and finding a beautifully organized little space. I was looking online for nursery decoration inspiration and stumbled upon this nursery:
 

I LOVE it! One of my favorite parts is the closet with the super-cute-curtain.  Now why would I insist that my lovely husband take a closet door off you might ask? I love the pop of fabric that it brings into the room and love even more that it gives extra floor space. Here is a pic of the closet door pre-painting:

With the door there you wouldn't be able to put anything in that corner of the room because the door would need space to swing open. Not anymore! Bye bye door...helloo curtain! I had Peter hang the rod high and wide over the door. I had him extend the rod over the left side a little longer than the right because that's where the curtain will hang...
 
Tada! Curtain-closet-door.
How easy was this to make? Ask me! Ask me! As we say up here in Boston-- WICKED easy. I hemmed all four sides to home decorating weight fabric that I actually got for free from fabric.com.  When I ordered the fabric for the crib skirt they sent the wrong fabric (Brown with cream polka dots instead of teal polka dots). They said- keep it and we will send you the right fabric! Well...ok I guess I will :)  I bought the clips and curtain rod at Target for a great deal:

I am working on re-upholstering the glider rocker which I haven't introduced to y'all yet. More on that soon. I want to put the glider in front of the curtain to free up another corner in the nursery.

Does anyone else have curtain-closet-doors that they just love?!

Sunday, May 8, 2011

My First (Soon to be a Mom) Mother's Day

Lately I have been waking up early on days I get to sleep in. Why you ask? It's not that I love getting up with the birds on days off. It's HUNGER. I wake up and all I want to do is eat! Like clockwork, I woke up a few minutes after 7 this morning...starving.

But wait, what's that I smell? Oatmeal pancakes? YUMMY! Peter had woken up extra early, knowing i would be ravenous, and made me my first Mother's Day Breakfast. They were delicious.

My single (which turned into 3 or 5 "Mother's Day Requests" throughout the day)"Mother's Day Request" (oh yeah, and I tend to milk most holidays for all they are worth...) was to hang the curtain rods up in the nursery. You see, I have been a busy little sewer (that is, "one who sews") while Peter has been "demo man."

Here is what I have been up to:


I'm not into lots of super girlie colors but a "pop of pink" was definitely necessary. I chose to add the pink in with the ties on the bumper pad. Custom bedding is definitely out of our price range and since I started making baby bedding for a few customers in my Etsy Shop I figured: why not make my own?

Doesn't the white crib look great with the bedding? The crib skirt is brown with teal polka dots. I'm really happy with how the bedding came out, and thankful I got it done while I can still crawl around on the floor and pin the heck out of it.

Oh yeah, so back to Mothers Day Request. I snagged some amazing fabric at a discount fabric store and thought it would be perfect for the curtains in the nursery. The sad part was, they didn't have enough to make 4 panels. They had enough for 2 and to save money on fabric costs, I ended up going with the sweeping-curtain-look since the windows are huge anyways. (I didn't have to worry about the windows looking tiny and not letting enough sunlight in.) So when the guy at the counter was cutting my fabric he mentioned that the fabric is designed for outdoor use and is stain/water resistant. Perfect for the nursery! I told him I was making curtains and, with this new found knowledge, I could leave the windows open when it rains and the curtains will be ok:) He didn't laugh...I did though. 

So up the curtain rods went. Peter proceeded to head to the basement to prep trim for the beam while i whipped up my curtains:


It was later afternoon when I took the picture so it's a little dark. The curtains are teal and white stripes that actually match the paint color exactly! (And no, I don't carry around paint swatches with me. That would require thinking in advance.) I took a chance, and it was a success!

I got the curtain rods at Christmas Tree Shop for $5 each. They are a distressed white and look great with my new fabric! Things are starting to come together all around our cottage, and we can't wait for the first floor to be finished...soon!
Related Posts Plugin for WordPress, Blogger...