Well we made it! Happy due date Little B! Auntie K was kind enough to take these pictures at your favorite beach. Here are the latest pics of mommy and daddy right before your arrival:
Wednesday, August 3, 2011
Bumpdate- 40 Weeks....Happy Due Date Little B!
Labels:
40 weeks,
beach,
prego pics
Monday, August 1, 2011
New Project!
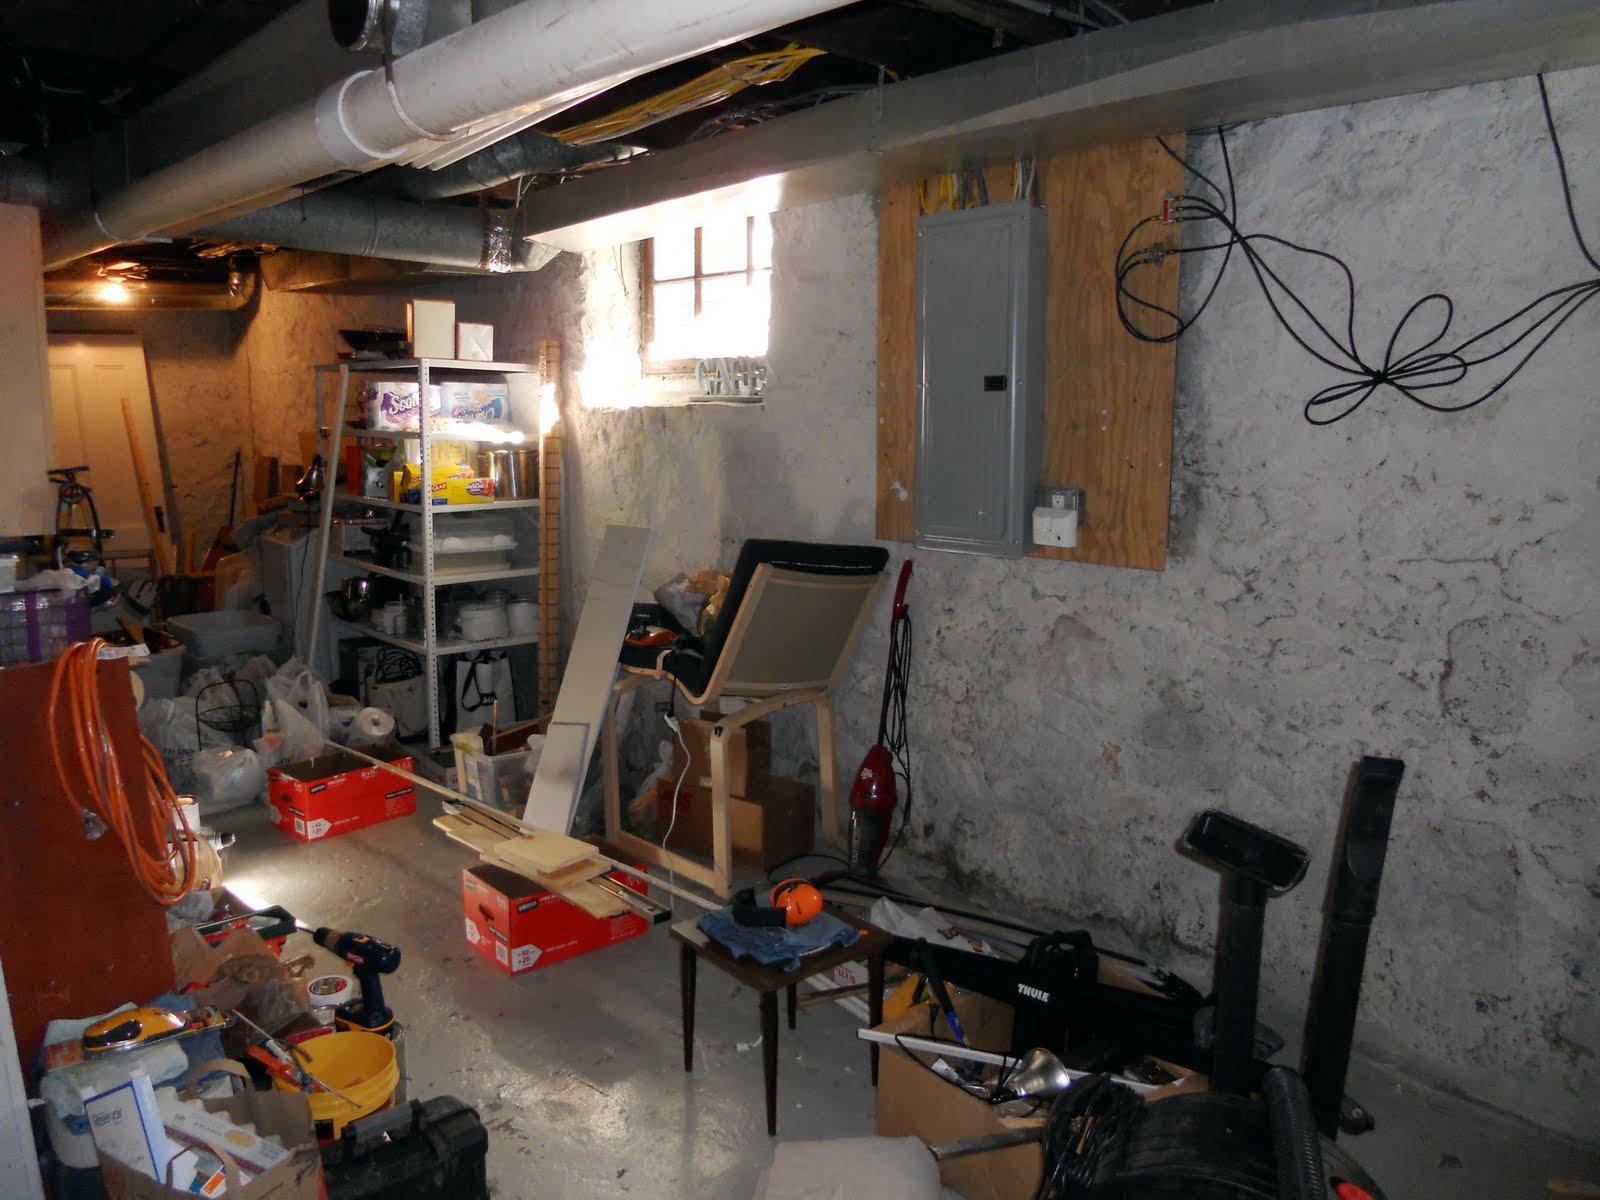
So Little B is due any day now. So why not start another project? Our latest undertaking is the basement. We want to make it a playroom/tv-room hangout-type-space. We also want to add a small half bath since we only have 1 bathroom on the second floor. Here is a pic straight ahead as you walk down the stairs.
Our plan is to put the bath straight ahead from the stairs. Why? I thought you would never ask. In order to make this a budget friendly project we desperately want to avoid purchasing an "Up-Flush" toilet (we're talking $1,000) instead of a $100 toilet from HD or Lowes. Since the main sewer drain is behind the washer/dryer we are going to build a platform that will raise the toilet high enough to avoid the $1,000 toilet situation. I mean, really, who wants to spend $1,000 on a toilet?
So we had a work weekend. Both dads and a brother-in-law came up to help. We got the platform in so we could have the plumbers come in and start their job of moving/installing pipes for the toilet and sink. Here is what the platform looks like from the stairs right now:
Our plan is to put the bath straight ahead from the stairs. Why? I thought you would never ask. In order to make this a budget friendly project we desperately want to avoid purchasing an "Up-Flush" toilet (we're talking $1,000) instead of a $100 toilet from HD or Lowes. Since the main sewer drain is behind the washer/dryer we are going to build a platform that will raise the toilet high enough to avoid the $1,000 toilet situation. I mean, really, who wants to spend $1,000 on a toilet?
So we had a work weekend. Both dads and a brother-in-law came up to help. We got the platform in so we could have the plumbers come in and start their job of moving/installing pipes for the toilet and sink. Here is what the platform looks like from the stairs right now:
Here is a shot of the scary-scary basement before we cleaned it up. Some parts of the house really took a beating after the beam project. The basement may be one of those. Ok, it definitely is.
Back to the work weekend. We got all the junk cleared out and got to work. We cut out some wall below the stairs to add a closet and extra storage once the basement is somewhat livable:Who do you think Peter takes after? His dad maybe?
Tuesday, July 26, 2011
Fixed Me Up a Table...
So I wanted a little table for the nursery to put next to the rocker for water, supplies, etc. I just wanted a simple table that was short and cute. Most importantly, I didn't want to spend much $$. A few weeks ago I went on a yard sale marathon in search of the perfect table. Well, I found it! The price was totally right too: $3.
Here's a quick tutorial on how I got the table to look like it should be a part of the room.
1- I took some sandpaper to it until it was all scratched up and stuff.
2- I wiped it off and primed it. I was careful to not get any paint on the tiles.
3- I let it dry and painted the table in the leftover trim paint I had on hand. The center circle I used the leftover wall paint from the nursery. TA-DA! New table for 3 bones.

Be sure to check out how it looked in the nursery all set up. What a fun little project that totally changed the look of the table. Oh yeah- I had Peter spray it with a clear coat of poly so we don't need to worry about coasters in the wee hours of the night:)
Thursday, July 21, 2011
Nursery Complete!
Well I guess it's done. For now. I can't commit myself to saying a room is "done". So here is the grand tour for now. Wow- a lot has changed since the day we painted this room! I am thrilled with the result. To keep costs down, I made the curtains and bedding seen in the first picture. I gave leftover fabric to my wonderfully talented sister-in-law Auntie K who made the quilt hanging over the edge of the crib. I made my own mobile since I didn't find anything I liked in the store. I love how big the mobile is and how it fills the empty corner of the room visually.
Here is the closet progress thus far. We painted the rod and top shelf to match the walls and added some shelving to the far left out of wood scraps. We used a shoe organizer from IKEA to organize things like burp cloths, hats, etc. More on organizing that another time. It's fine for now!
Here is the side that no one has seen yet. I am really happy with how it turned out. The two outside shelves we had from our old apartment and are from IKEA. The middle decorative shelf is from Christmas Tree Shop for around $6- can't beat it. Do you like the decal on the wall? It's from Etsy given to us by Auntie K. The changing table was an antique shop purchase for $50 a year ago. We totally lucked out on that piece.
Oh and look at the little shelves! They are actually leftover spice racks from IKEA that I painted the color of the trim. I just love them.
Doesn't the sailboat decal look like we painted it? It's amazing!
This corner doesn't really have a purpose yet. We have the bassinet stored there right now. This bassinet was used by my dad when he was a baby. My wonderful mom made it look brand new with the eyelet fabric and quilted lining. Little B will love her little abode.
Well that's it for the nursery at this point. We have had so much fun with it but I am glad we are done! Now it's time for Little B to see it. I will try to get a 38 week pic up soon for all you bump-date followers!
Tuesday, July 12, 2011
The Dreaded Beam Project: Complete.
After more than two months of work, the living/dining room transformation is finally complete! I know people live in construction zones for greater periods of time, but man, having such a central area of our place in various states of assembly was wearing. The result, however, is totally worth it. Check out the before and after photos:
I learned a tremendous amount through this project, from brute-force demolition to finicky finish work to proper prep and thorough clean-up.
The two things that I am most happy with are the landing and the fact that the beam doesn't look brand-new. The landing was originally carpeted - same as the stairs - and square. We pulled up the carpeting, which covered old linoleum, which was glued to the hardwood underneath. My question quickly became: What possessed a previous owner to use the most adhesive mix of paper and glue possible? Was he laughing as he put it down, finding some twisted humor in imagining another owner slowly chiseling it all up? (But then again, is that any different than me using enough nails, screws and caulk to sink a ship to put up trim...and feeling only slightly bad for the guy that tries to take it all down?) Thankfully, the hardwood cleaned up beautifully, and taking the corner off the landing (nice idea Jen!) didn't prove to be too difficult, although it did challenge my joinery skills.
Before it all began..
| After |
| Before |
| After |
The overall look to the first floor is fantastic. Thanks to my friends, Caulk and Putty, you can't even see my two thousand mistakes. Some points of learning I'll pass on to those who might take on any home project:
- When demo-ing horsehair plaster: plastic off EVERYTHING, EVERYWHERE...and do it all in a day
- Use new wood for trim, because ultimately, the hours spent getting the old stuff back in working shape just isn't worth the trouble
- Use REAL wood for the trim - for some odd reason I bought composite quarter-round for the landing trim. It's great for outdoor applications, I'm sure, but doesn't behave like wood at all. It shatters when a nail goes in wrong...
- Borrow/rent/buy an air-nailer, especially for trim work (thanks for lending me yours, dad!) - you will live longer if you do
- Sharp blades, fresh sandpaper, and clean brushes are more valuable than gold. Change/sharpen often (Peter's lesson: don't agonize over a 50 cent sanding disc)
- Good prep is always worth it.
- The extra 5 or 10 or even 30 minutes spent making sure something is done correctly makes the finished product go from "Did you do that part all by yourself?" to "Wow, I didn't even know that wasn't original."
(Insert craigslist savvy shopper here)
Take a lookie at this Pottery Barn Buffet I snagged on Craigslist for $60!
Doesn't it look great! I am really excited about that wall above it...stay tuned...
Labels:
beam,
buffet,
dining room,
paint
Saturday, July 9, 2011
Arts Fest Beverly Recap
What was supposed to be a stormy day ended up being absolutely perfect! Arts Fest Beverly was the only fair I decided to do this summer. I know- I'm so pregnant lazy...
Here are a few highlights:
The booth during setup...
Colored Pencil Rolls:
Here are the Crayon Rolls in action:
(Always the biggest seller!)
Guess I forgot to take pictures of the other side of the booth. That would be called Pregnesia: A mild form of amnesia/forgetfulness often associated with the diagnosis of pregnancy.
Since the day was such a success I ventured across the street to TT Totes another MA local who sells all things bags. They are all adorable! I had my eye on this gem all day long and would glare at people when they picked it up :) Don't mess with the pregnant lady who knows what she wants!
I just LOVE it. She even told me what fabric she used so I can buy more and make some matching accessories. I am thinking a matching changing pad and wetbag. Oh and the quality is unbelievable. It has a bunch of pockets, is super sturdy, and of course beautiful!
She also sells wristlets, handbags, kindle cases, etc. Be sure to check out another local artist! TT Totes
Here are a few highlights:
The booth during setup...
Colored Pencil Rolls:
Reusable Snack and Sandwich Bags:
Stroller and Infant Blankets:
(I was really happy the cow print didn't sell. That's my gift to Little B!)
Here are the Crayon Rolls in action:
(Always the biggest seller!)
Guess I forgot to take pictures of the other side of the booth. That would be called Pregnesia: A mild form of amnesia/forgetfulness often associated with the diagnosis of pregnancy.
Since the day was such a success I ventured across the street to TT Totes another MA local who sells all things bags. They are all adorable! I had my eye on this gem all day long and would glare at people when they picked it up :) Don't mess with the pregnant lady who knows what she wants!
I just LOVE it. She even told me what fabric she used so I can buy more and make some matching accessories. I am thinking a matching changing pad and wetbag. Oh and the quality is unbelievable. It has a bunch of pockets, is super sturdy, and of course beautiful!
She also sells wristlets, handbags, kindle cases, etc. Be sure to check out another local artist! TT Totes
Labels:
craft fair,
diaper bag,
TT Totes
Thursday, July 7, 2011
Make Your Own Mobile- Beach Style
So in one of my first posts about the nursery I mentioned I wanted to make my own mobile. I had seen a picture on etsy of a mobile I liked - but didn't love - that was made only of paper. Being the beach obsessed lover that I am, I wanted to put a beachy flare on the mobile....
So what should I hang that's beachy and small?
How about 250 tiny sand dollars? I mean, why not, right? They already have holes! I told myself I would save this super-duper-fun-take-up-a-lot-of-time project until the end of pregnancy when all I wanted to do was sit. Well, I guess I am there!
I used a simple embroidery hoop, which we spray painted white that I ordered online for $1.30. Wahoo. I bought fishing line from Michaels and ordered the sand dollars online. Then I got my stringing on. And on...and on.
250 sand dollars later...
Doesn't it kinda look like a giant jelly fish?

Has anyone else tried making a mobile? It was kinda fun :)
Labels:
mobile,
nursery,
sand dollars
Subscribe to:
Posts (Atom)